Intro To Spooling
![]() Updated 1 year ago
by
Adam Heon
Updated 1 year ago
by
Adam Heon
Spooling Overview
eVovle Electrical offers a wide range of spooling commands to facilitate custom workflows. These tools allow for quick creation, dynamic view options, and robust management. All commands are located in the spooling panel.
These tools deliver the following features:
- Quickly define spools through start and stop elements, a standard window selection, or even automatically by defining HxWxD and weight.
- Ability to seamlessly modify spools by adding/removing/borrowing parts from existing spools or even completely combining two or more.
- Create all needed sheets, views, and schedules
- Automate time-consuming dimensions, numbering, and annotation of spool sheets
Spool Settings
eVolve spooling features are completely customizable to each users individual standards. Whether needing to assign or apply a template , or having the spool status change when it's defined, there are many options available in Spool Settings.
Settings
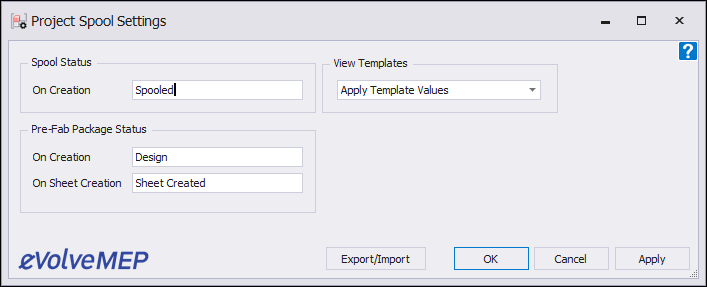
- Spool status settings - Updates the status upon these actions
View Templates option
- Assign View Values: When a View Template has been set for the viewport family in the spool viewport properties, this option will copy run Revit's Apply View Properties command on the viewport and set the View Template to "None".
- Apply View Template: Uses the spool templates's viewport View Template setting
Creating Spools
- Define Spools: Use pre-select (works with Element Filter) or window selection to define a spool assembly. This method supports the inclusion of Conduit, Cable Tray, and MEP Fabrication categories
- Define Spool Run: Select start and end point(s) of the connected elements.
- Modify Spool: The default operation allows for the selecetion of a spool to edit and the ability to add or remove parts to the spool being editing. Non spooled parts as well as parts in a different spool can be moved to the selected spool. This action will also provide the option to update subsequent views/sheets as well to keep the information current.
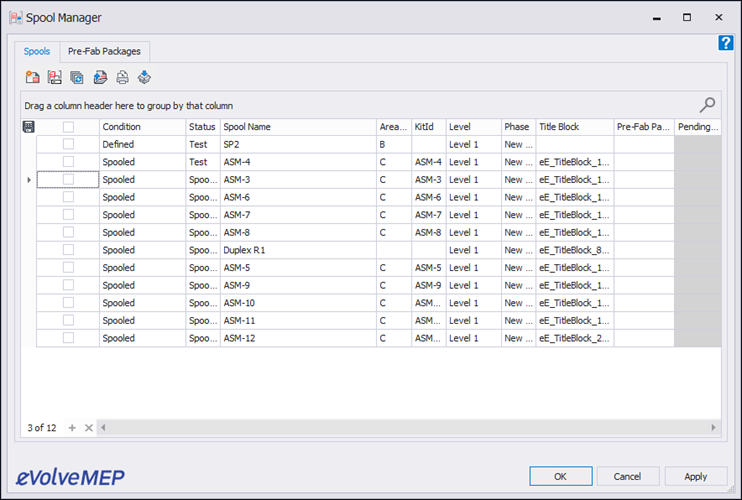
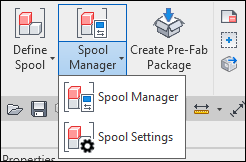
Spool Manager
The Spool Manager is a one stop shop for spool information. The spool manager provides the ability to see various spool information and gives access to a host of commands. Some examples include batch create spool sheets, rename, update, create print sets, PCF export and much more.