Set Angle
![]() Updated 1 month ago
by
Adam Heon
Updated 1 month ago
by
Adam Heon
Set Angle

Summary
The Set Angle function defines angle values utilized by the Rotate, X, Y, Z, and MEP Rotate features. The Rotate X, Y, and Z buttons utilize the specified angle to rotate a single element and may be used from either the eVolve ribbon or the contextual ribbon. While there are plenty of options to choose from, numerical values may be entered on the fly: the software will remember this entry for easier degree selection in the future.
- eVolve tab ⮞ Quick Tools panel ⮞ MEP Rotate menu ⮞ Set Angle button


Usage
- From the eVolve ribbon, in the Quick Tools panel, click the MEP Rotate menu, and click Set Angle.
- From the Set Angle window, enter a value in the Angle dialog box or click the menu to select a predefined angle and click OK.
- From the drawing area, select an element, assemble, or group, then click one of the Rotate X, Y, or Z buttons.

Overview
Rotate
The Rotate buttons allow single elements to be rotated on a fixed axis.
Rotate X
The Rotate X button utilizes the specified angle to rotate a single element and may be used from either the eVolve ribbon or the contextual ribbon.
Rotate Y
The Rotate Y button utilizes the specified angle to rotate a single element and may be used from either the eVolve ribbon or the contextual ribbon.
Rotate Z
The Rotate Z button utilizes the specified angle to rotate a single element and may be used from either the eVolve ribbon or the contextual ribbon.
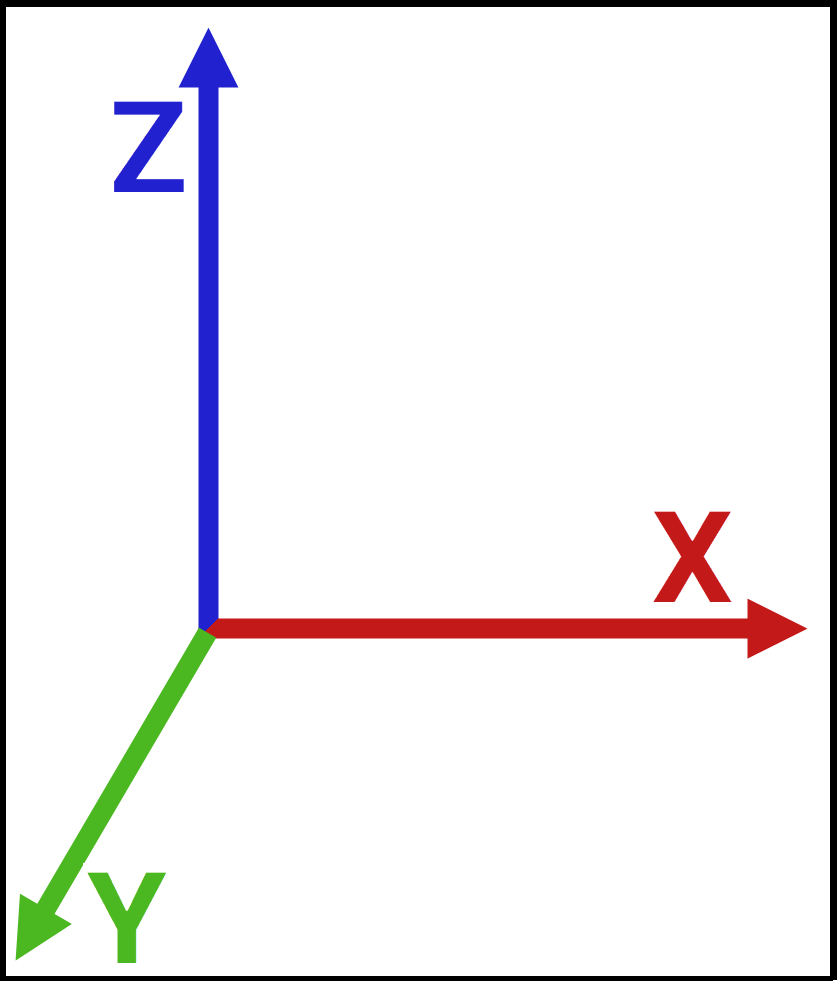
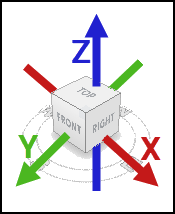
When rotating an element from a 3D view, the project’s orientation dictates the X, Y, and Z rotation. The project’s orientation can easily be determined based on the view cube. The X-axis, runs from left to right, the Y-axis runs from front to back, and the Z-axis runs from top to bottom.
When rotating from a plan view, the axes are rotated based on the orientation of the view regardless of the project's orientation.