Creating a Custom Shape Location
To Create a Custom Shape
- From the Architectural ribbon, in the Build panel, select Component then Model In-Place.

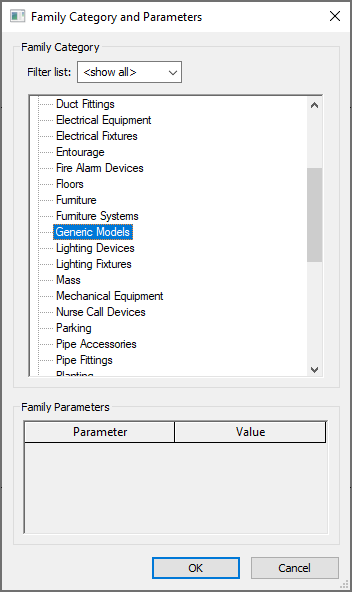
- When the Family Category and Parameters window appears, Select Generic Models and click OK.
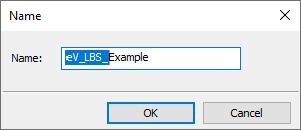
- Next, a Name window will appear. In the value field, enter the name of the location to be created. For this purpose, the prefix eV_LBS_ must be used or the program will not recognize the area as a location. Additional text can be added after the prefix, as shown below. Click OK.
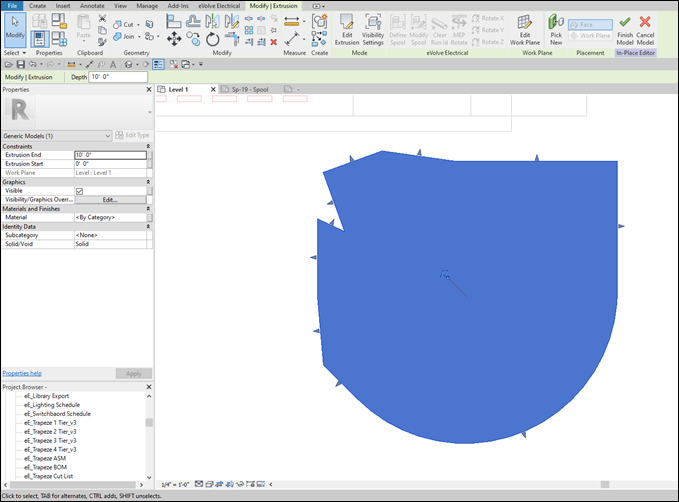
- From the Forms panel, in the Create ribbon, click Extrusion. Select the appropriate drawing tool and draw the shape of the custom kit area.
- From the Properties Palette, Adjust the Extrusion_End parameter to the height of the desired location.
- Click Finish
- Click Finish Model to complete this process.
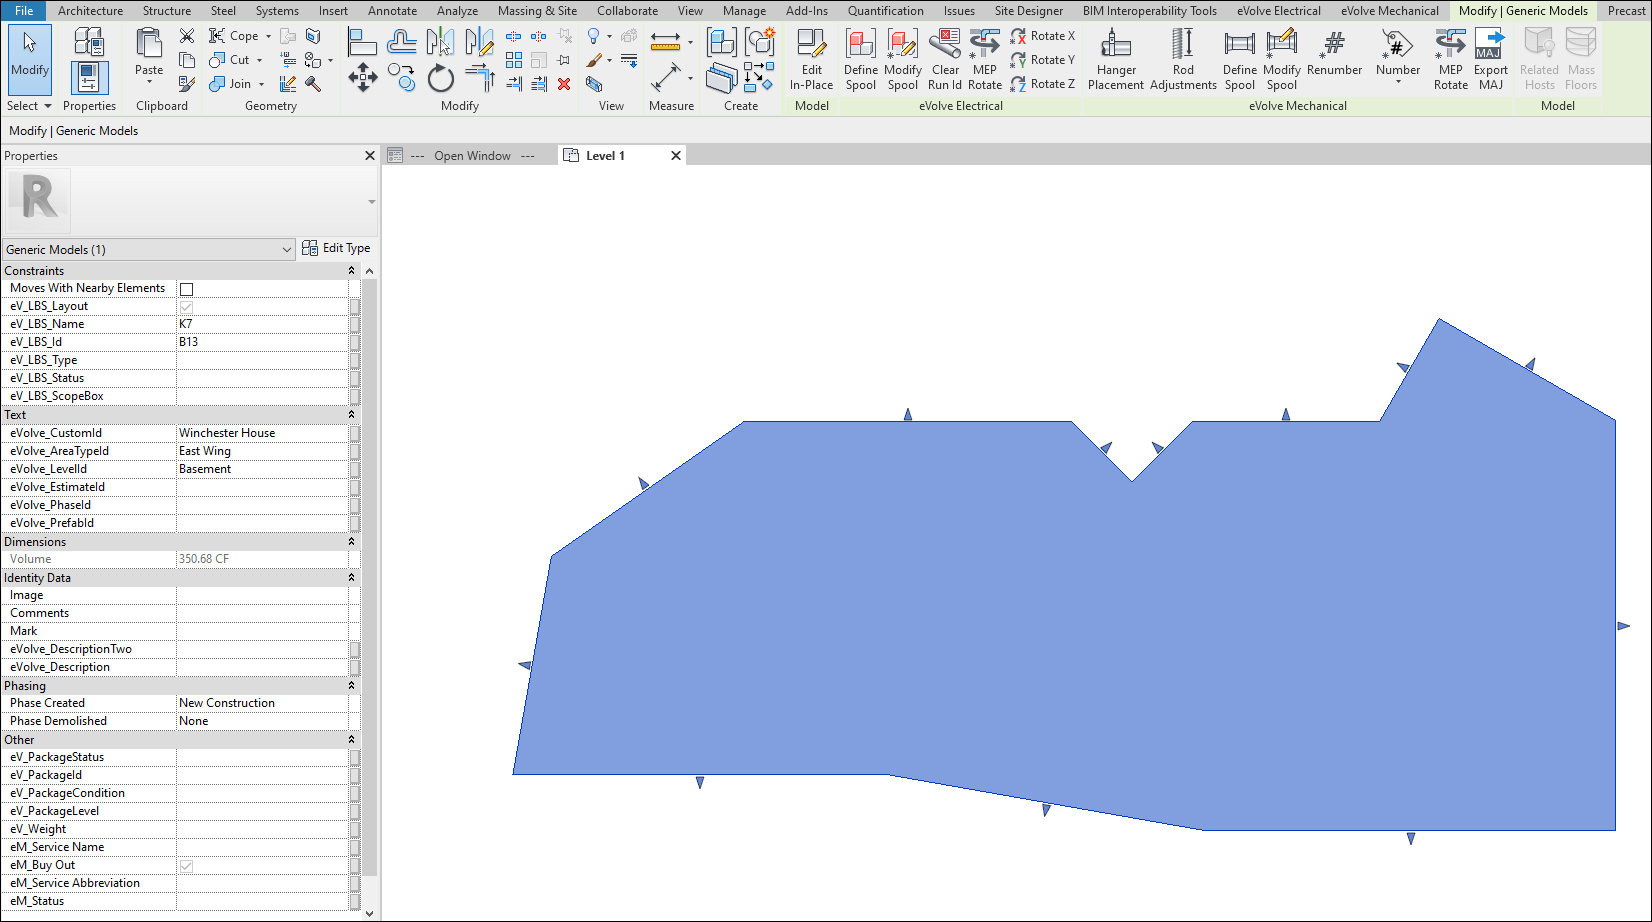
- From the model, select the new custom location and edit the parameters exactly as done with standard locations.
Make sure that the eV_LBS_Layout checkbox is checked and dark in color. If it is grayed out, the location parameters won't push to the parts inside it. You may have to click in the field to enable.