Optimize Bend - Consume And Center
![]() Updated 2 years ago
by
Kerry Poe
Updated 2 years ago
by
Kerry Poe
Optimize Bend - Consume And Center

Summary
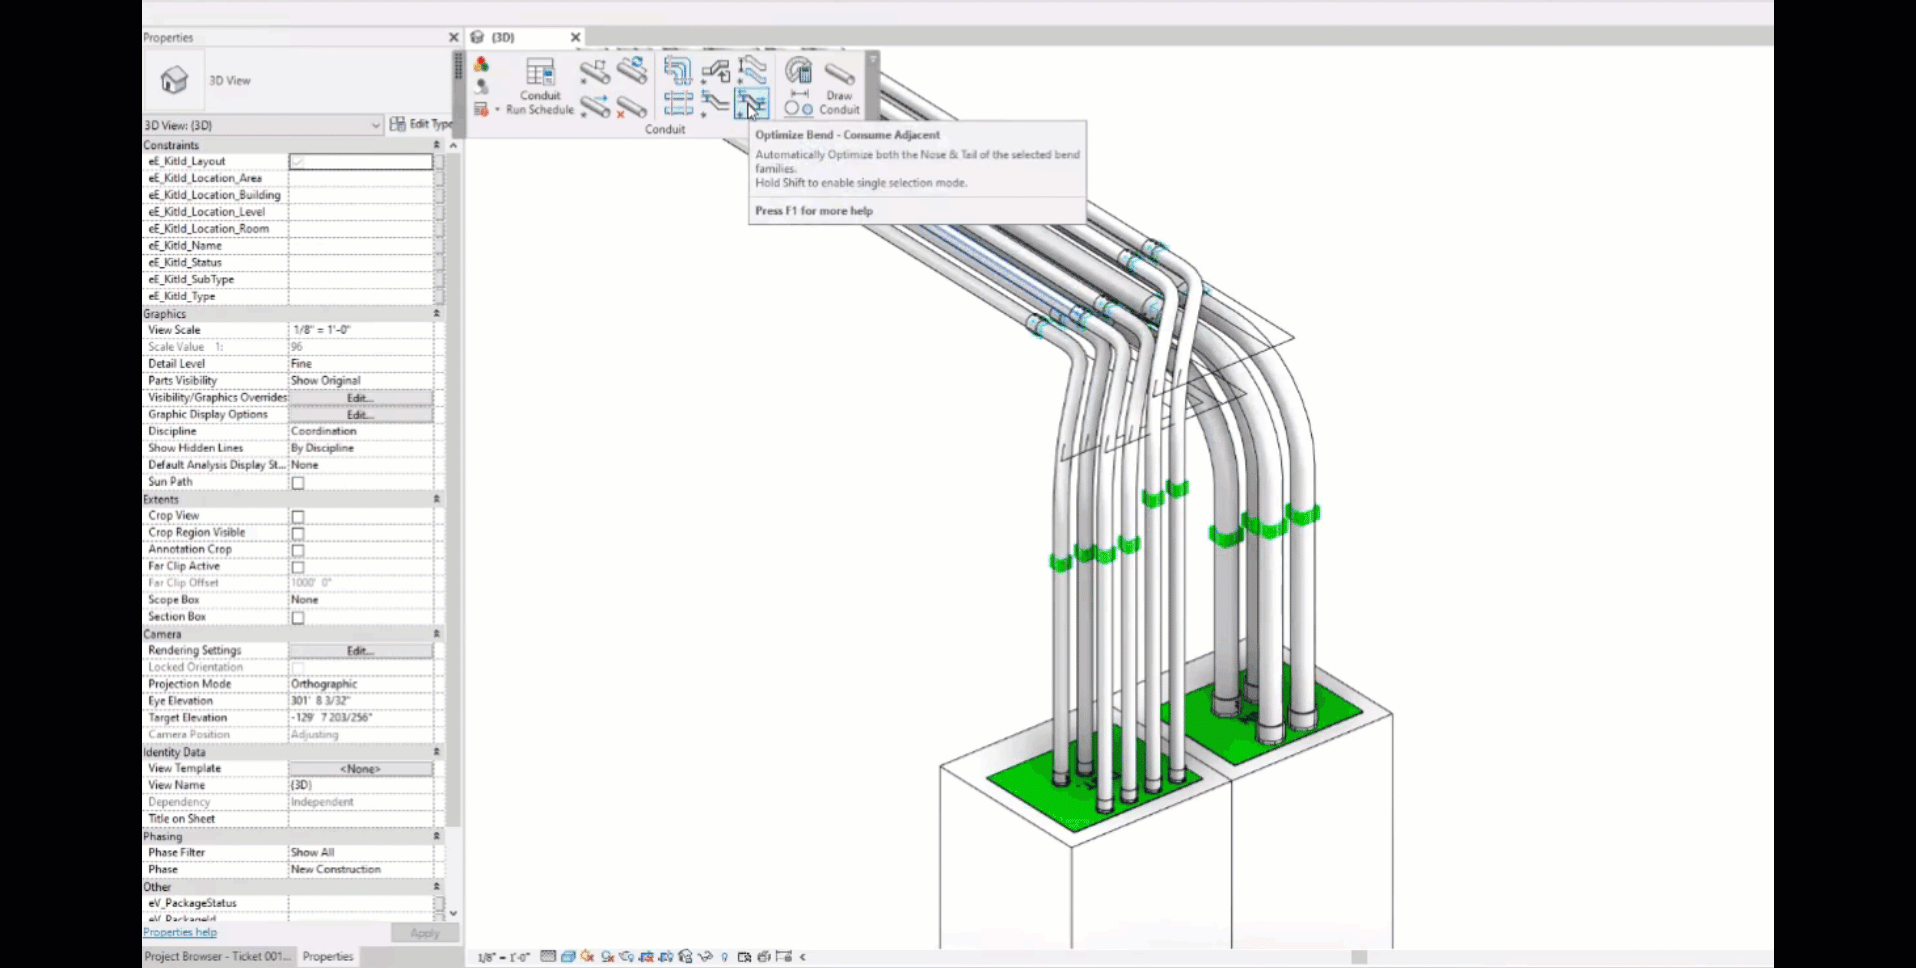
The Optimize Bends features allow for a streamlined workflow for prefab and design optimization, with less time spent cleaning up groups of bends. With these new tools, a designer can draw in all of their conduits and smart bends into the project and come back and quickly adjust the smart bends with just a few clicks. Then use the align coupling command, and the entire conduit run is fully modeled with all bends optimized to use a full stick when possible, and all couplings are aligned.
- eVolve tab ⮞ Conduit Bends panel ⮞ Optimize Bend - Consume Adjacent menu ⮞ Consume And Center button


Usage
Consume And Center
This command will merge the smart bend family with the conduit before and after it to create a one-piece bend. The bend can be as long as the Max Conduit Length parameter in the bend families type properties(default is 10').
Optimizing Groups of Bends
- From the eVolve ribbon, in the Conduit Bend panel, click the Optimze Bend - Consume and Center button.
- From the drawing area, select the desired bends (using window select will only select the smart bends)
- From the Options Bar, click 'Finish'

Tips and Tricks
Single Bend Optimization - Hold Shift
The Optimize Bends commands are intended to work with multiple bends by default. Hold SHIFT while clicking the command to optimize a single bend.
Best Practices
We encourage users to only work with eVolve Bend Families for the best results. When modeling with eVolve Electrical's advanced conduit tools, such as Optimize Bends and Auto-Couplings, we recommend using the following workflow:
- Model conduit runs utilizing our smart bend families. (Without adjusting them)
- Use Align Conduit when necessary for conduit spacing
- Optimize the bends using Consume Selected End and/or Consume Adjacent Ends commands and make any adjustments
- Use Align Couplings to align the bend couplings
- Use Place Couplings to place couplings along the run (We recommend using the "Change of Direction" option when using this workflow and using steps 2-5 section by section)

Videos